
Introduction
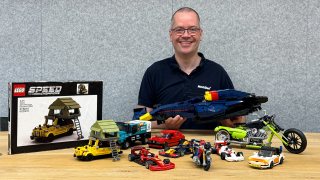
By day, I design complex machines and welding jigs at MechDes: from concept engineering to a manufacturable drawing package. And when I get home, I simply keep building. For about five years now, I have been designing LEGO models in my spare time, mainly cars at Speed Champions scale, measuring around thirteen centimetres.
It started like it does for every child: a box of LEGO for your birthday, a mat on the floor on a rainy Saturday, and tipping the box upside down. Somehow, that feeling never entirely went away.
What keeps drawing me in is not just the play. Building is calming, it develops spatial awareness and sharpens your problem-solving skills. Brick by brick, you work your way towards a solution. That is exactly what I do every day in my work as an engineer.
From play mat to Studio: designing in 3D
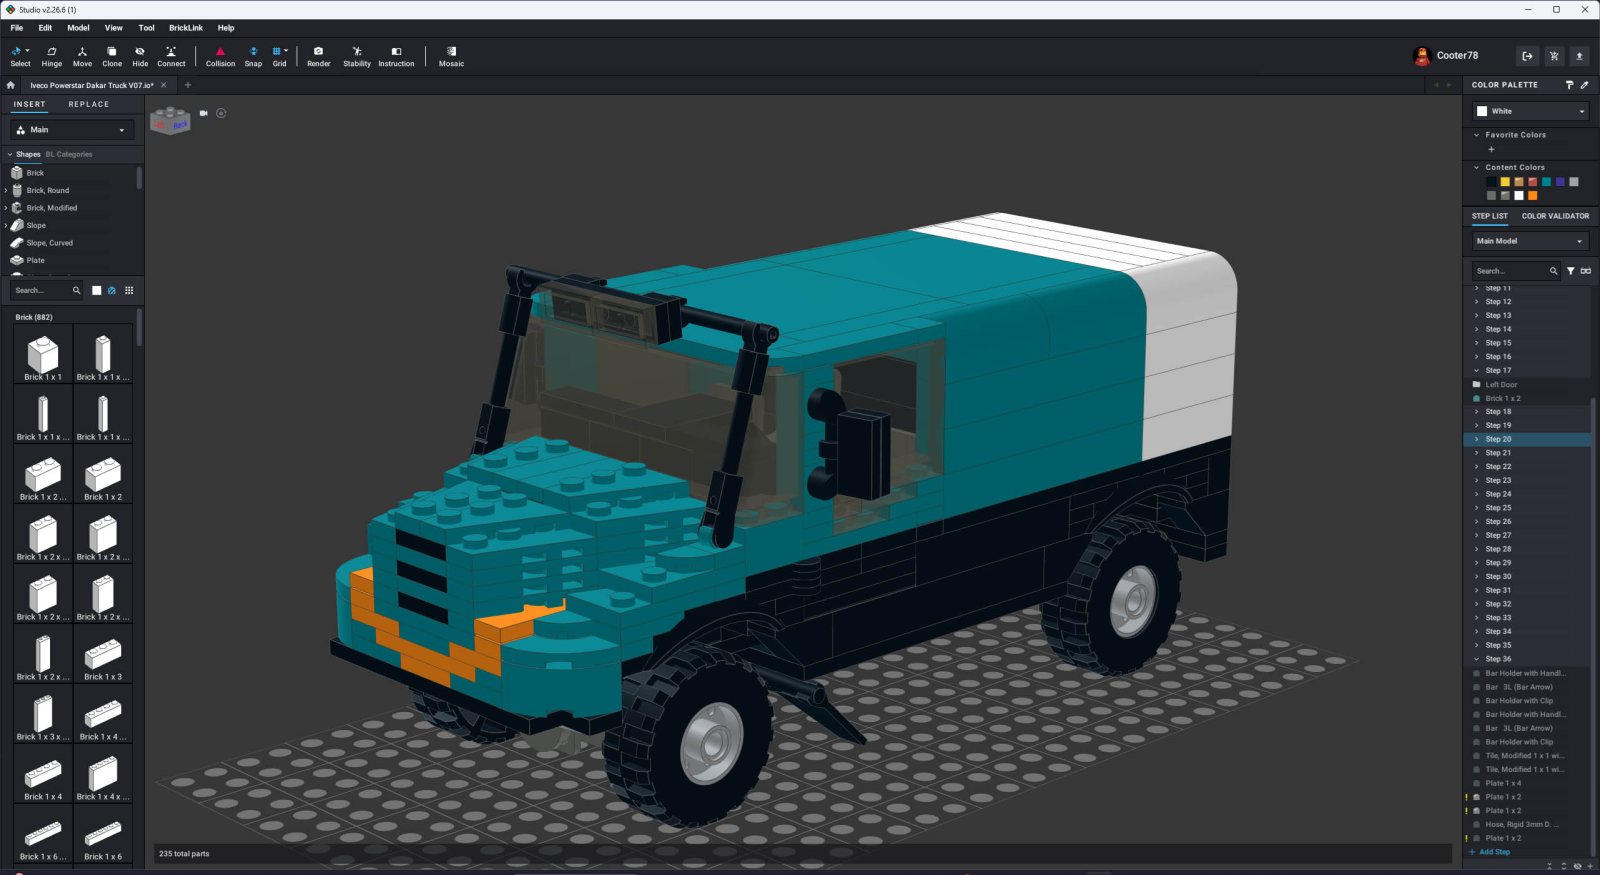
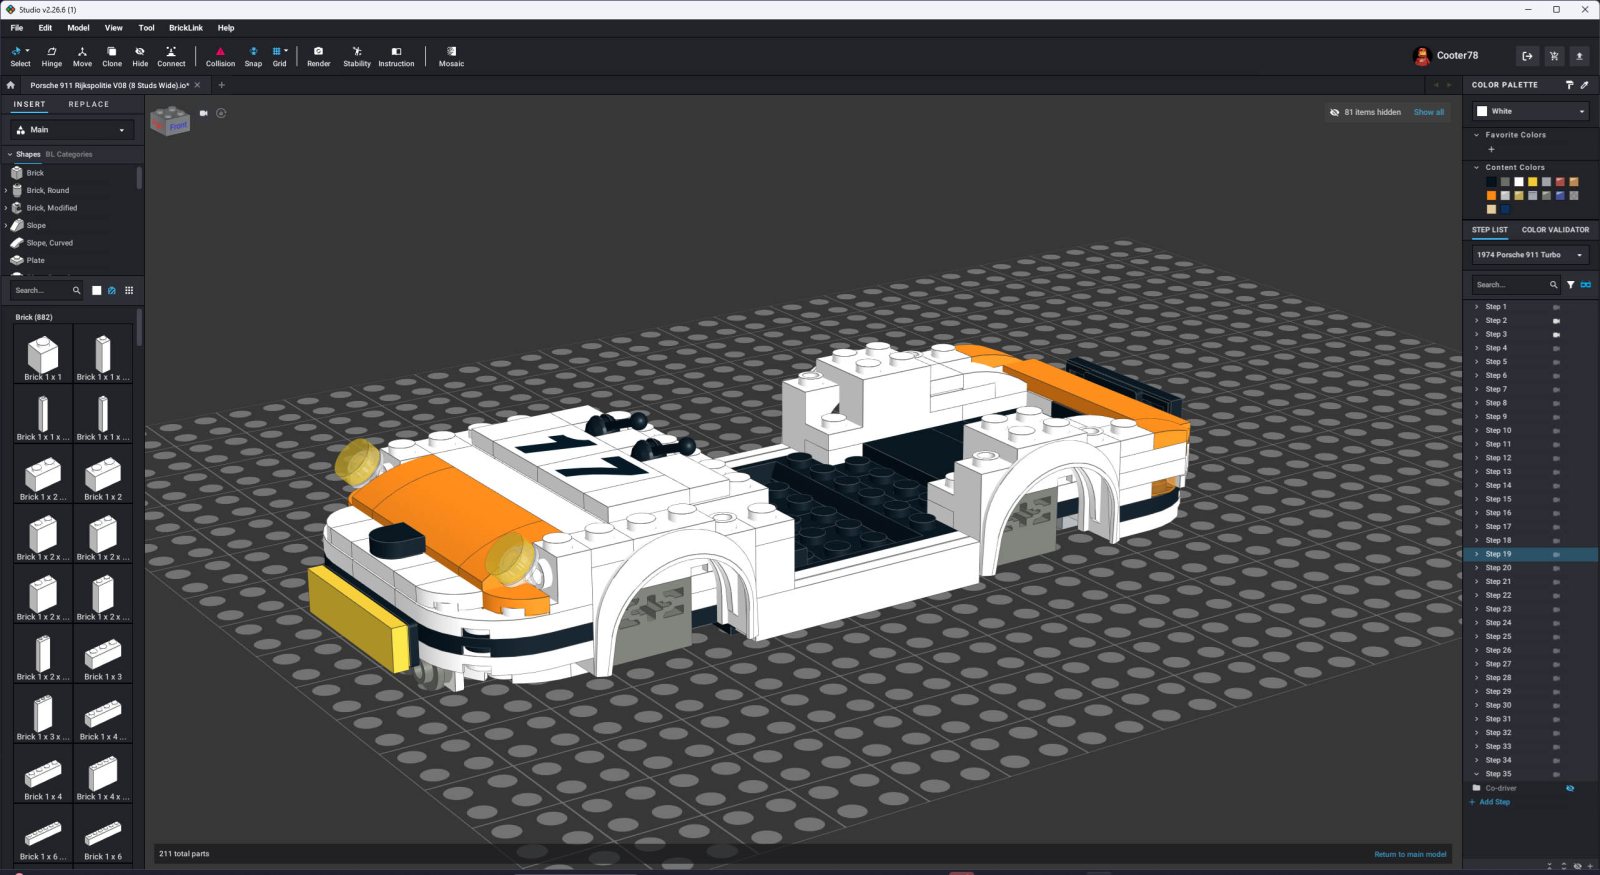
At some point, I came across the Rebrickable website, where people share their own models rather than official LEGO sets. How do they make those, I wondered? The answer was a program called Stud.io for Windows and Mac. It works much like SolidWorks in 3D, but with the bricks LEGO actually produces. You build your model digitally in steps, and the program automatically generates building instructions from those same steps. You then need to review those carefully yourself to make sure everything is truly correct.
I started small: trying things out, exploring what was possible and creating a few models. For someone used to designing in CAD, it immediately feels familiar. You think in assemblies and assembly sequences, while constantly asking yourself: will this work in real life too?
Starting with the wheels: scale and packaging
A fun fact: the LEGO Group is the world’s largest tyre manufacturer, producing around 300 million tyres a year. And that is where my design process really begins too. LEGO has a limited number of wheel sizes, so once I know which car I want to make, I first choose a wheel diameter. That diameter then determines the scale, and with it the length, wheelbase, track width and height of the car. Usually, I put a side view of the real car into PowerPoint, draw a few guide lines and get my dimensions that way.
That is also roughly how a real car manufacturer thinks. The wheelbase determines driving behaviour: a longer wheelbase gives a smoother ride, while a shorter one makes the car more responsive. Then comes the "packaging": the engine has to fit inside, and how many people need to fit in it—two for a sports car or seven for a family car?
Every choice involves trade-offs and requires compromises. Sometimes there is room for a minifigure, sometimes only for a helmet, just like in the official Speed Champions models.
As few studs as possible: forcing shape from straight bricks
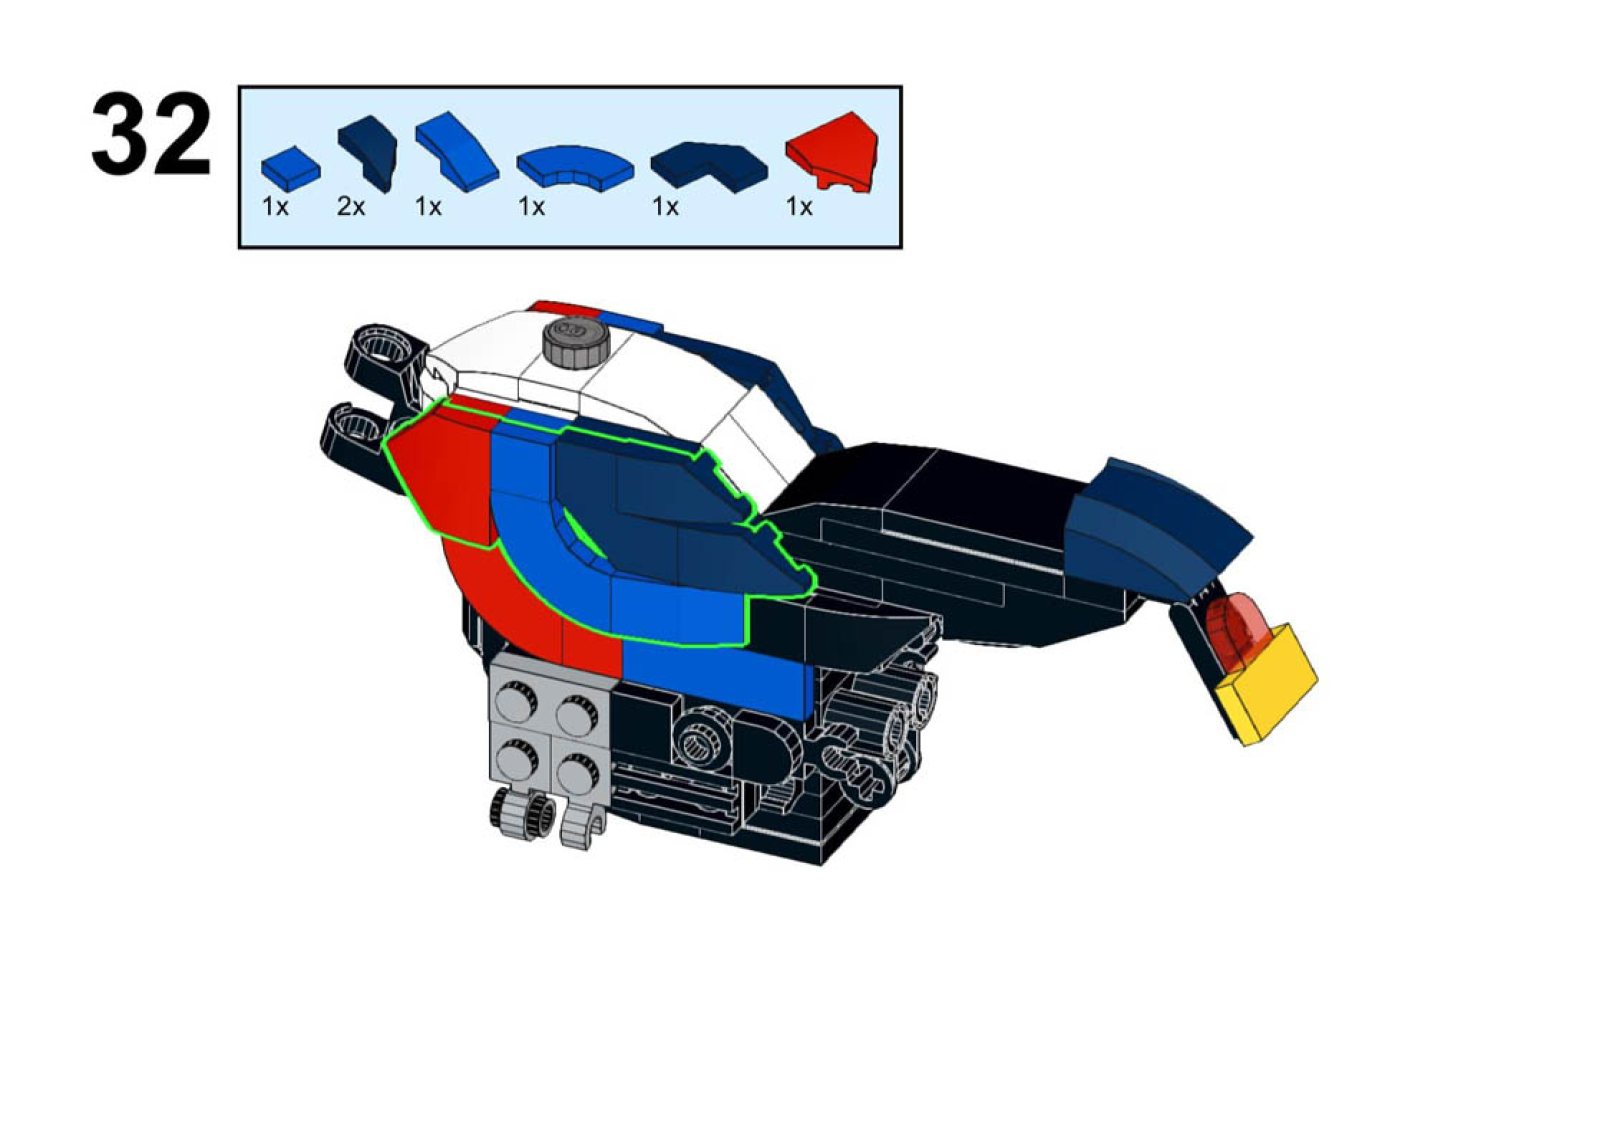
For our own machines, we develop the parts ourselves together with our clients and partners, allowing us to create virtually any shape we want. With LEGO, it is different: you are limited to the shapes that exist. So you have to think creatively to achieve a challenging shape anyway. For a car’s C-pillar, I sometimes need five or six bricks to make that line flow nicely.
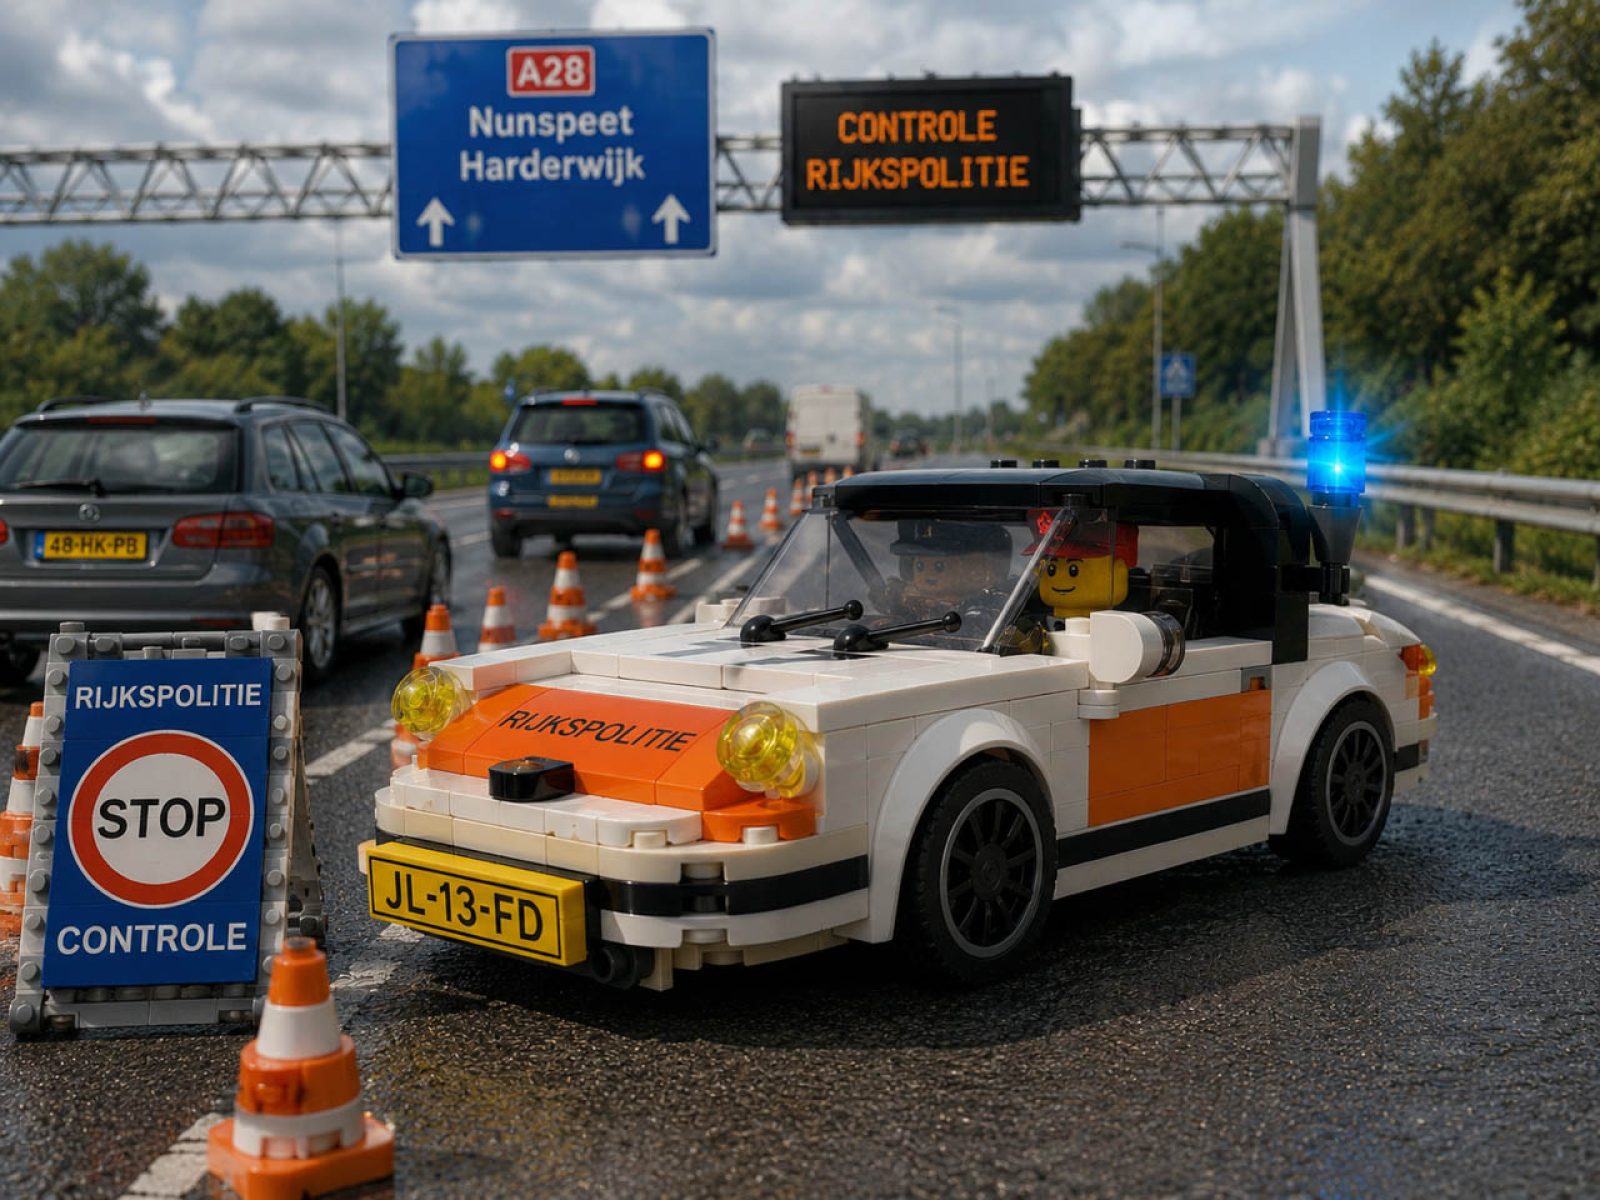
That is exactly where the satisfaction lies: iterating until you think, "this is it." A curved rear end, such as that of a Ferrari, takes a lot of work because most LEGO bricks are rectangular. I also aim to leave as few studs—the little bumps on top of the bricks—as possible visible. A clean, closed surface that resembles a real bodywork. The biggest challenge so far was a Porsche AG 911 of the former Dutch National Police, with a megaphone on the rear: fitting it in without leaving a large, gaping hole while keeping the entire rear end stable took quite a few iterations. But now it accurately reflects how the Dutch National Police drove it in the 1960s.
Building it yourself is validation
Before a design goes online, I always build the model completely myself one more time, following my own instructions. Why? Because a digital design does not tell you everything. In Stud.io, I cannot check whether the overall structure is stable, whether a bonnet or roof is too loose, or whether it falls apart when you turn it upside down. After all, children should be able to play with it too.
So I order the necessary bricks, go through my own building instructions step by step, and check two things at once: is the sequence of steps logical, and does the final construction work in practice? If there is too much flex anywhere, I adjust the design.
That is why, at MechDes, we do a lot of iteration with Additive Manufacturing and validate designs using a prototype. This lets us quickly see whether a concept performs as expected. It also allows a client to assess it firsthand. I once even recreated a Proof of Concept in Technic LEGO to test whether a proposed movement mechanism behaved as we expected. Interestingly, rebuilding it in LEGO immediately shows whether the principle behaves that way in practice.
Less is more, even with bricks
For a client, we try to make a design as simple as possible: easy to manufacture, assemble and maintain. I look for that same simplicity in my building instructions. I want anyone recreating the model to immediately see how it works, without needing three hands to hold everything in place. I also deliberately consider the parts themselves: are they reasonably available and affordable? Some colours or shapes exist in only one set ever produced, making them rare and expensive. I avoid those. That makes it much more enjoyable for the builder—and easier on the wallet too.
Building with purpose
At some point, I discovered that you can charge money for building instructions. I chose to donate all proceeds to the Dutch Cancer Society (KWF Kankerbestrijding), in memory of my mother and sister, both of whom died of cancer. They are small amounts, a few euros per instruction, but by now more than a hundred have been sold. Every little bit helps, and people are happy when they can build that one particular model they love.
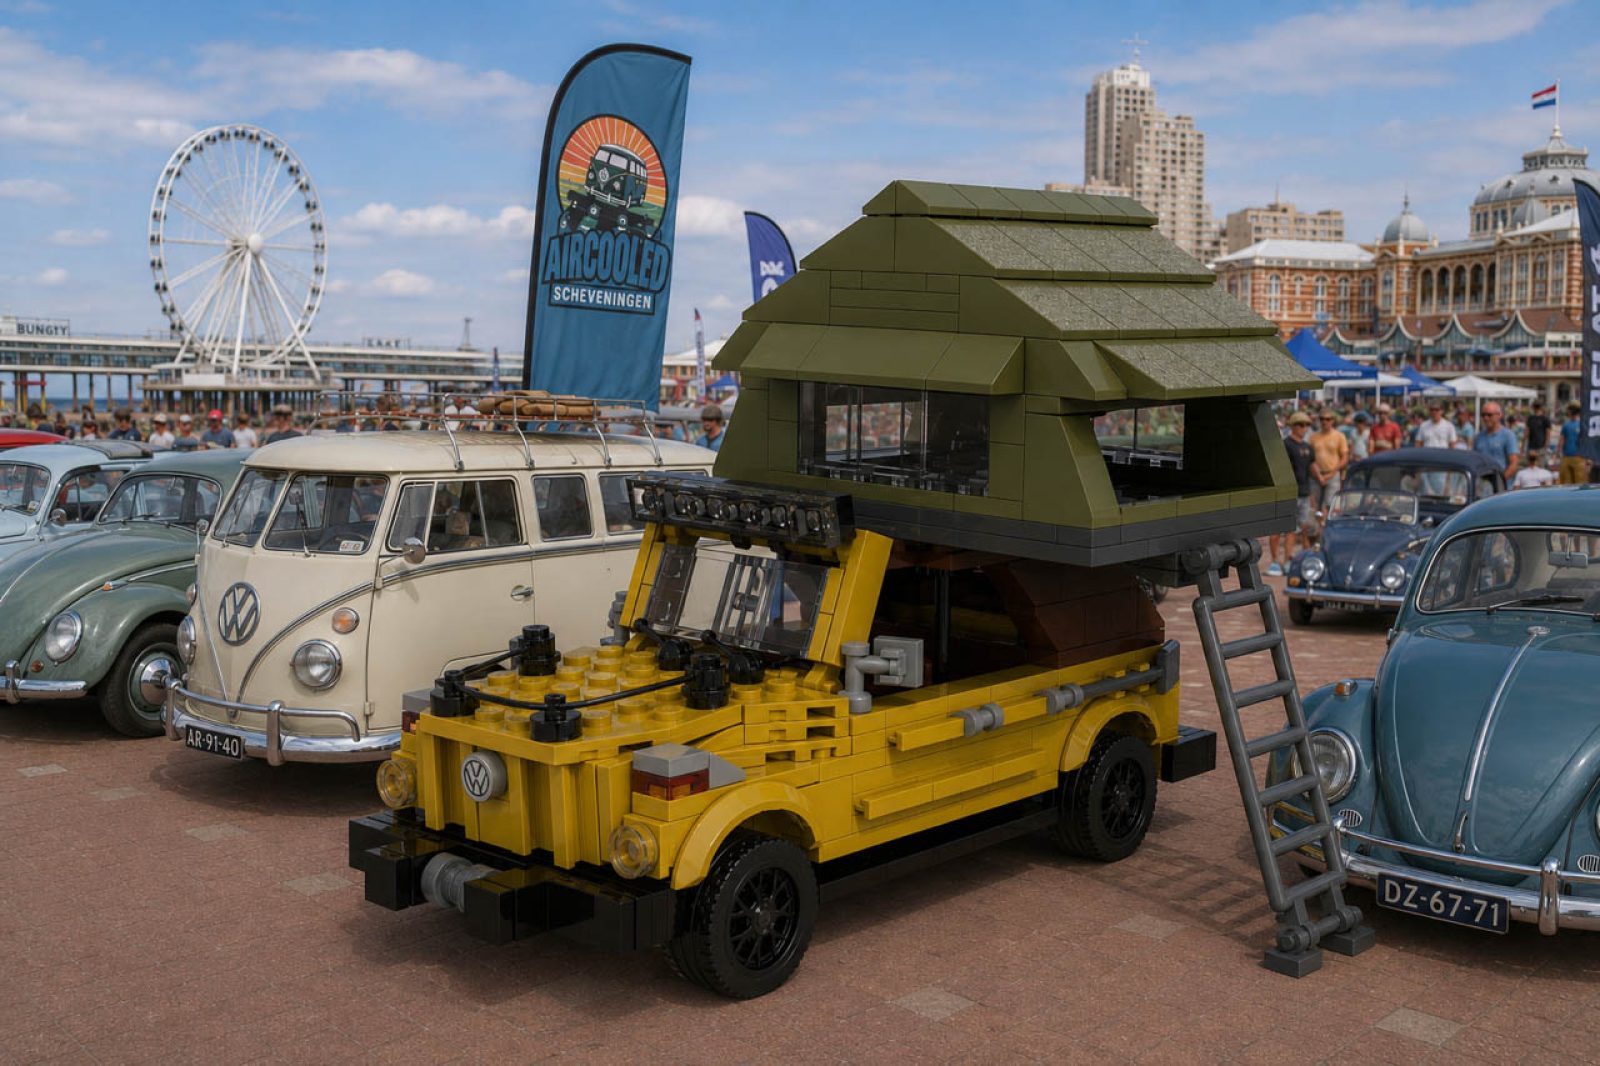
Sometimes that appreciation hits close to home. For my LEGO version of the Team De Rooy Dakar truck, I received a compliment from Janus van Kasteren, who drove the real truck in the Dakar Rally. When the driver himself says it is great work, you know your design is right. And for the father of my colleague Stefan Schouten, I recreated a Volkswagen Type 181, complete with a roof tent and ladder, packaged in a homemade box. He received it for his birthday and initially thought it was a real LEGO set. That model is not online: it is a one-off, made especially for him.
What it teaches me as a MechDes engineer
Perhaps that is the most important lesson LEGO has taught me: do not immediately rush towards the solution, but first get the starting points right. Once those are right, the rest follows naturally, step by step. I bring that way of thinking into my work at MechDes every day.
And ultimately, the same applies to every design: only when it works in practice can you be sure it is truly finished.
The next project: Max’s car and a climbing crane?
In my attic, there is still a major project I am working on: Max Verstappen’s Formula 1 car. The Red Bull team car is around seventy centimetres long, with a sleek, closed aerodynamic surface rather than the technical look you get with Technic LEGO. It is on the back burner for now, but the rear wing and wheels are already in place; now I just need to make the whole thing stable and tidy.
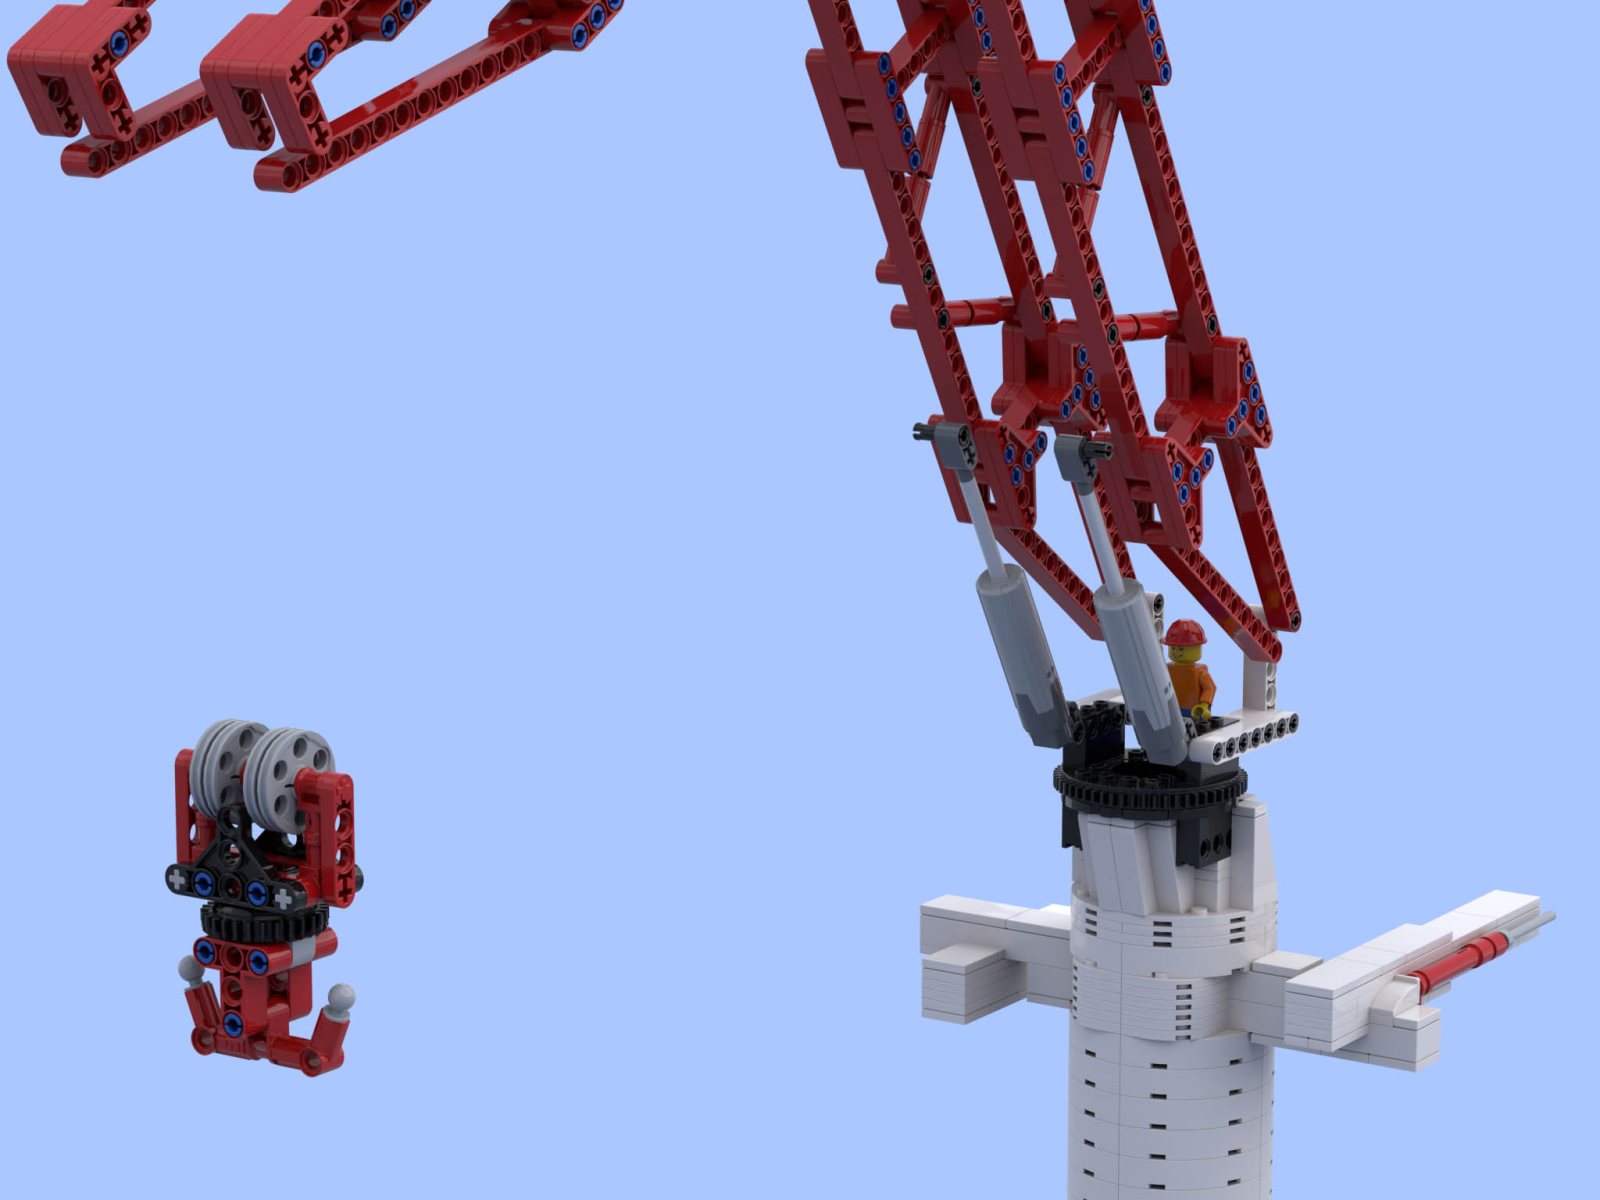
I would also like to recreate the climbing crane we designed at MechDes Engineering one day. There are still some real challenges involved. Round and conical at the same time? That is a genuine LEGO challenge, so I do not yet know how I am going to achieve it. But perhaps I will manage it one day, because as the old advertising slogan goes: with LEGO, you can build anything.
Perhaps that is what makes LEGO and engineering so enjoyable for me: continuing to puzzle until everything is right.
About MechDes Engineering
At MechDes, everything revolves around engineering that truly works. For more than thirty years, we have designed and delivered special-purpose machinery, tooling and structures for the infrastructure, offshore and manufacturing industries. We combine in-depth technical knowledge with practical experience to ensure our designs are reliable, efficient and future-proof. Working closely together, continuously seeking better solutions through innovation, and taking pride in the result together: these are central to who we are and why we have a team of passionate engineers working with us.